by Lila on August 11, 2014
 “A portrait of my baby boy, once a week, every week, in 2014.”
August 6, 2014: He loves the outdoors. Jeff took a week off of work and we took a road trip up the coast. We stopped at Stinson Beach, Muir Woods, Point Reyes Lighthouse. Beautiful places where we walked and talked.
Linking up with Jodi’s 52 Project
by Lila on August 8, 2014
 One word sums up our outdoor oyster party: Yum. Glasses filled with champagne, oysters on the grill, friends sitting around chatting and shucking oysters. Very few things make me happier.
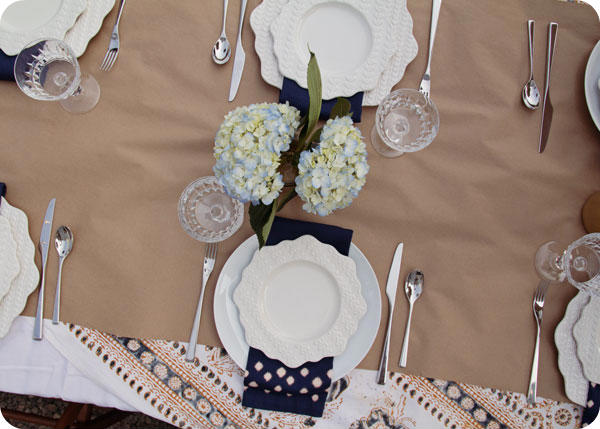
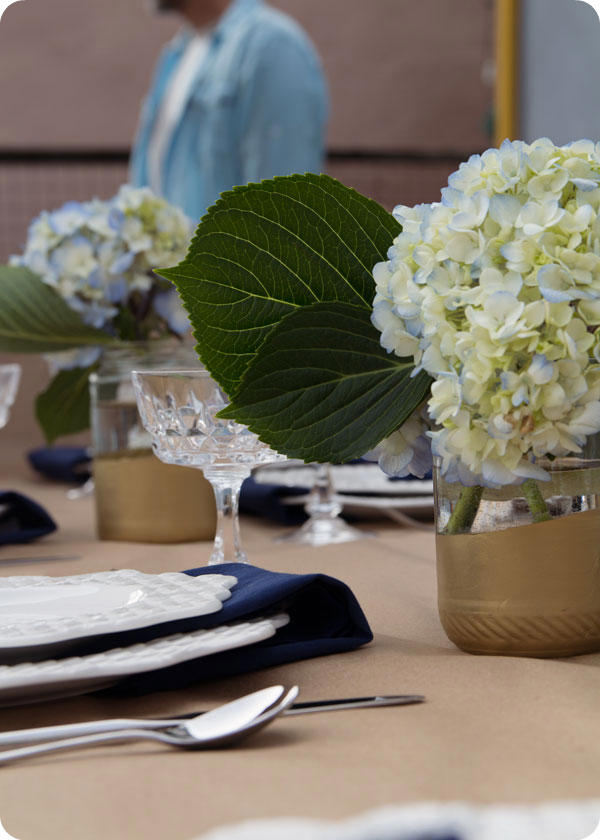 The table looked beautiful. The diy napkins adorned white ceramic dishes. A salad plate helped keep everything pinned down as gusts of wind dipped in and out of our backyard. Blue and white hydrangeas sat in dip-dyed jars atop a brown-paper runner and layered table cloths. My favorite things on the table were the champagne glasses, old-school family crystal passed down to us that I have been itching to use. The effect was rustic and glamorous all at once.
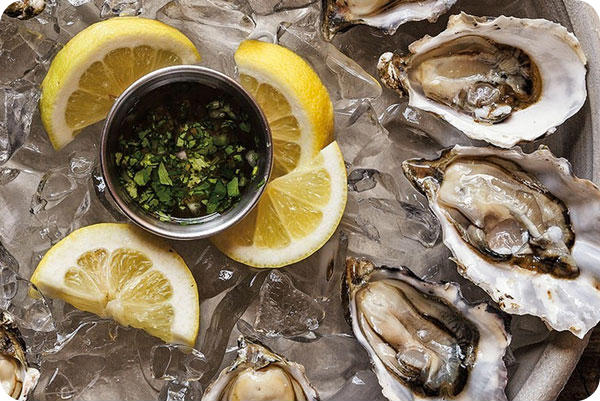
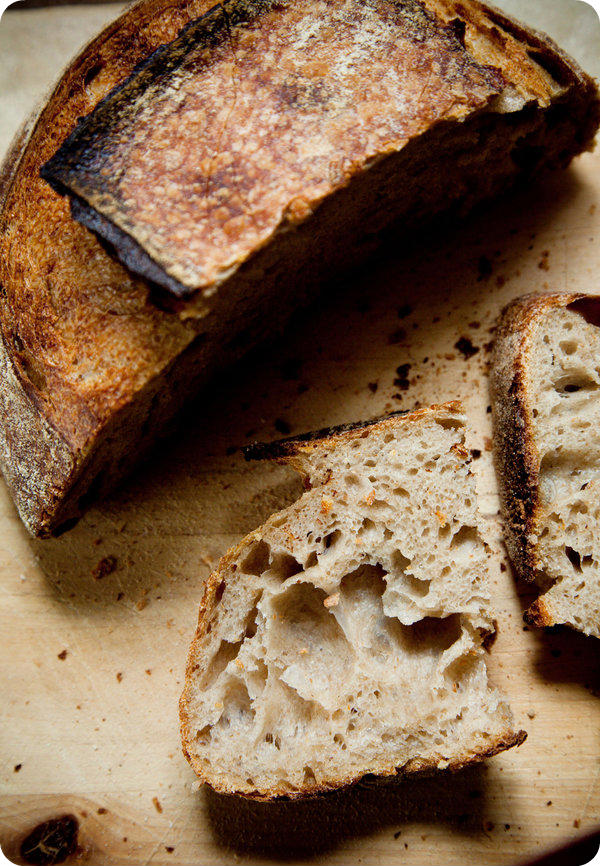
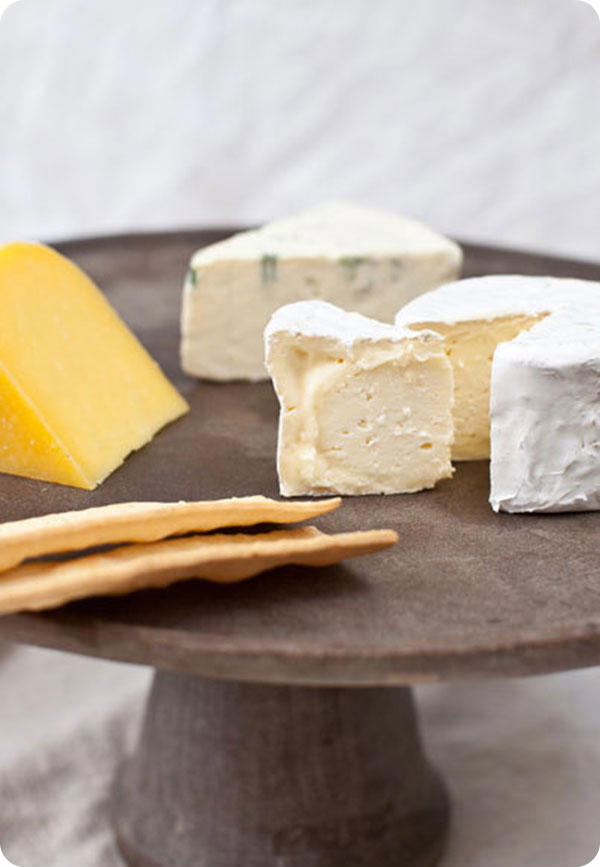
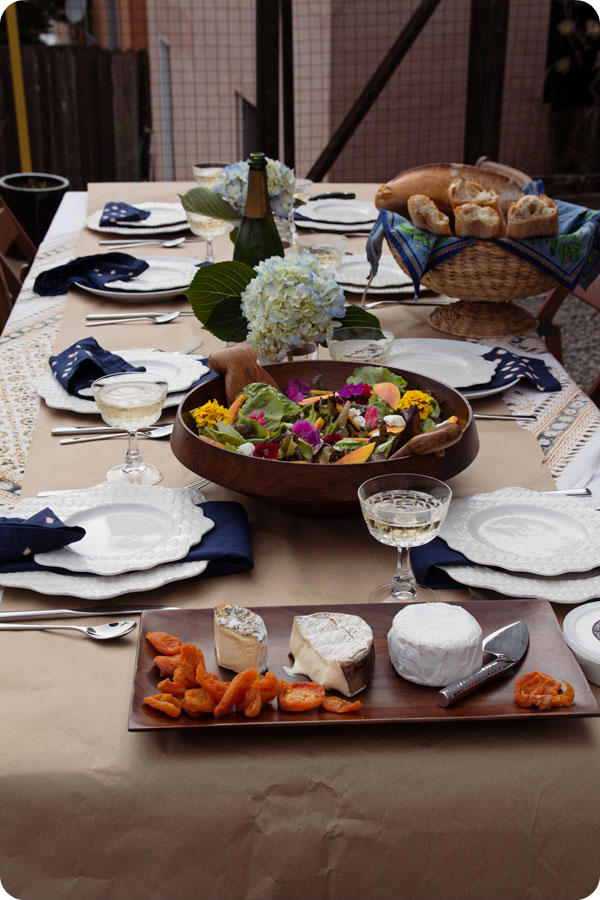
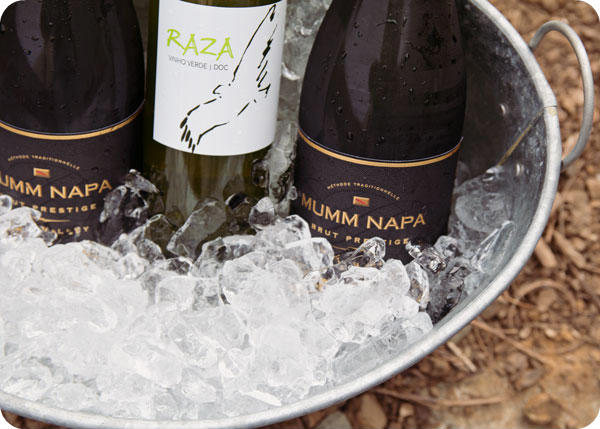 The sips and bites made this my favorite menu to date. Glasses were filled with bubbles and white wine while fresh oysters were shucked and put out with Hog Island’s Hogwash. So good. Meanwhile the grill was hot and laden with Bourbon Chipotle Butter Oysters. These morsels were show stoppers and so simple. The salad was fresh from the market and featured nectarines, goat cheese, and edible flowers. A basket full of bread sat beside a platter of cheese and dried apricots. My mouth is watering just thinking about it.

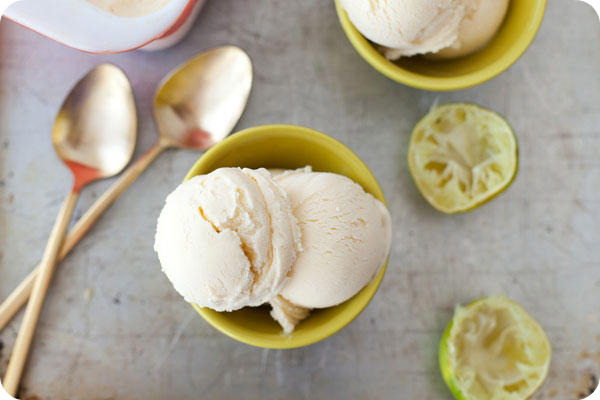
 Afternoon turned into evening and the patio lights set a soft glow on the party as we sat under quilts in the San Francisco fog. Handmade Cantaloupe-Mint Ice Cream was passed around the table to cap off the incredible meal.

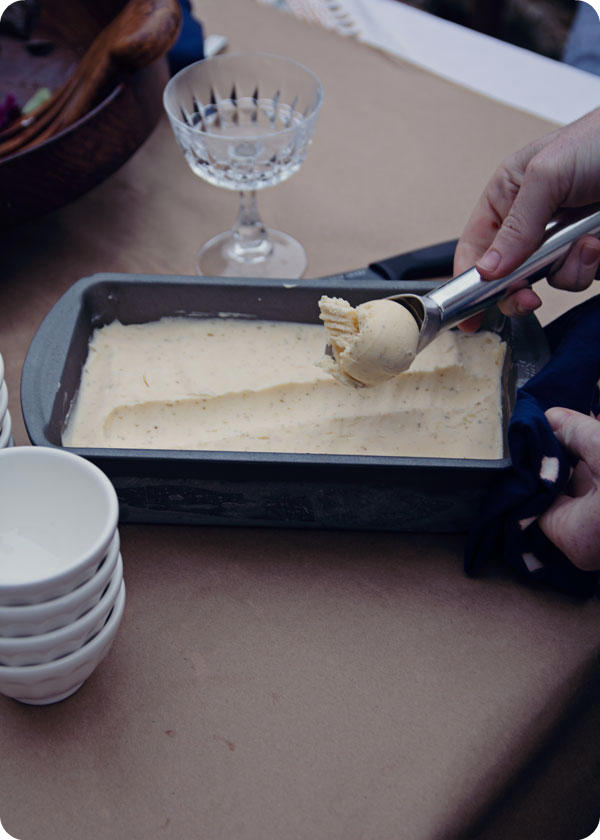 The best part about this oyster party was that there was very little prep for an incredible meal. We left the shucking to do with our guests, so all to be done before their arrival was grocery shopping, making salad, and preparing the bourbon butter. Sweet, simple, and delicious.
Thank you to my wonderful guests and husband for helping with everything from shucking oysters to taking gorgeous photos! It was an evening that will not soon be forgotten. In fact, we might have to do it again. Soon.
Don’t miss the rest of the Oyster Party Series! You can find the inspiration here, the invite here, the napkin how-to here, the recipes here, and what to wear here!
by Lila on August 6, 2014
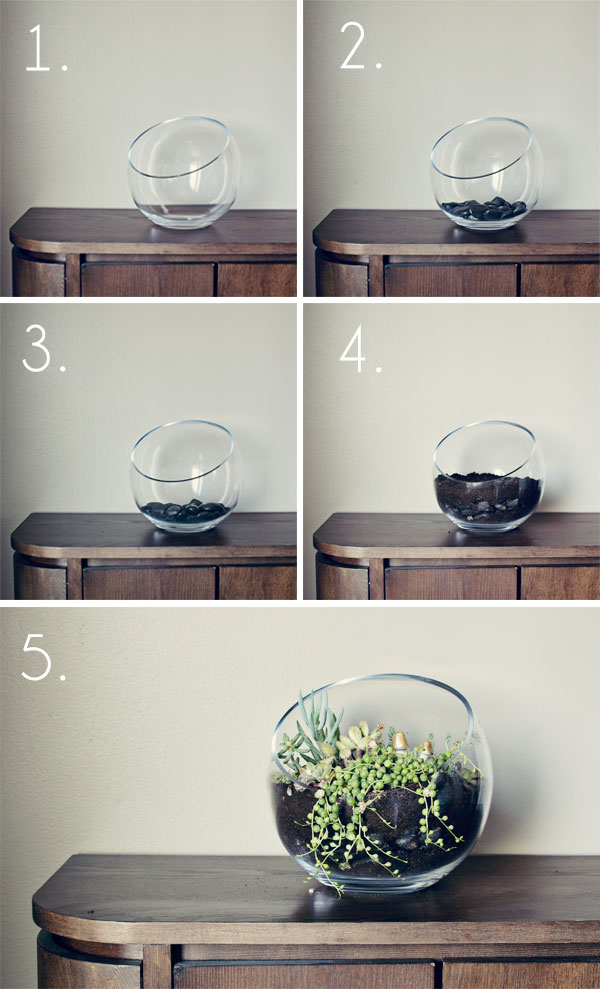
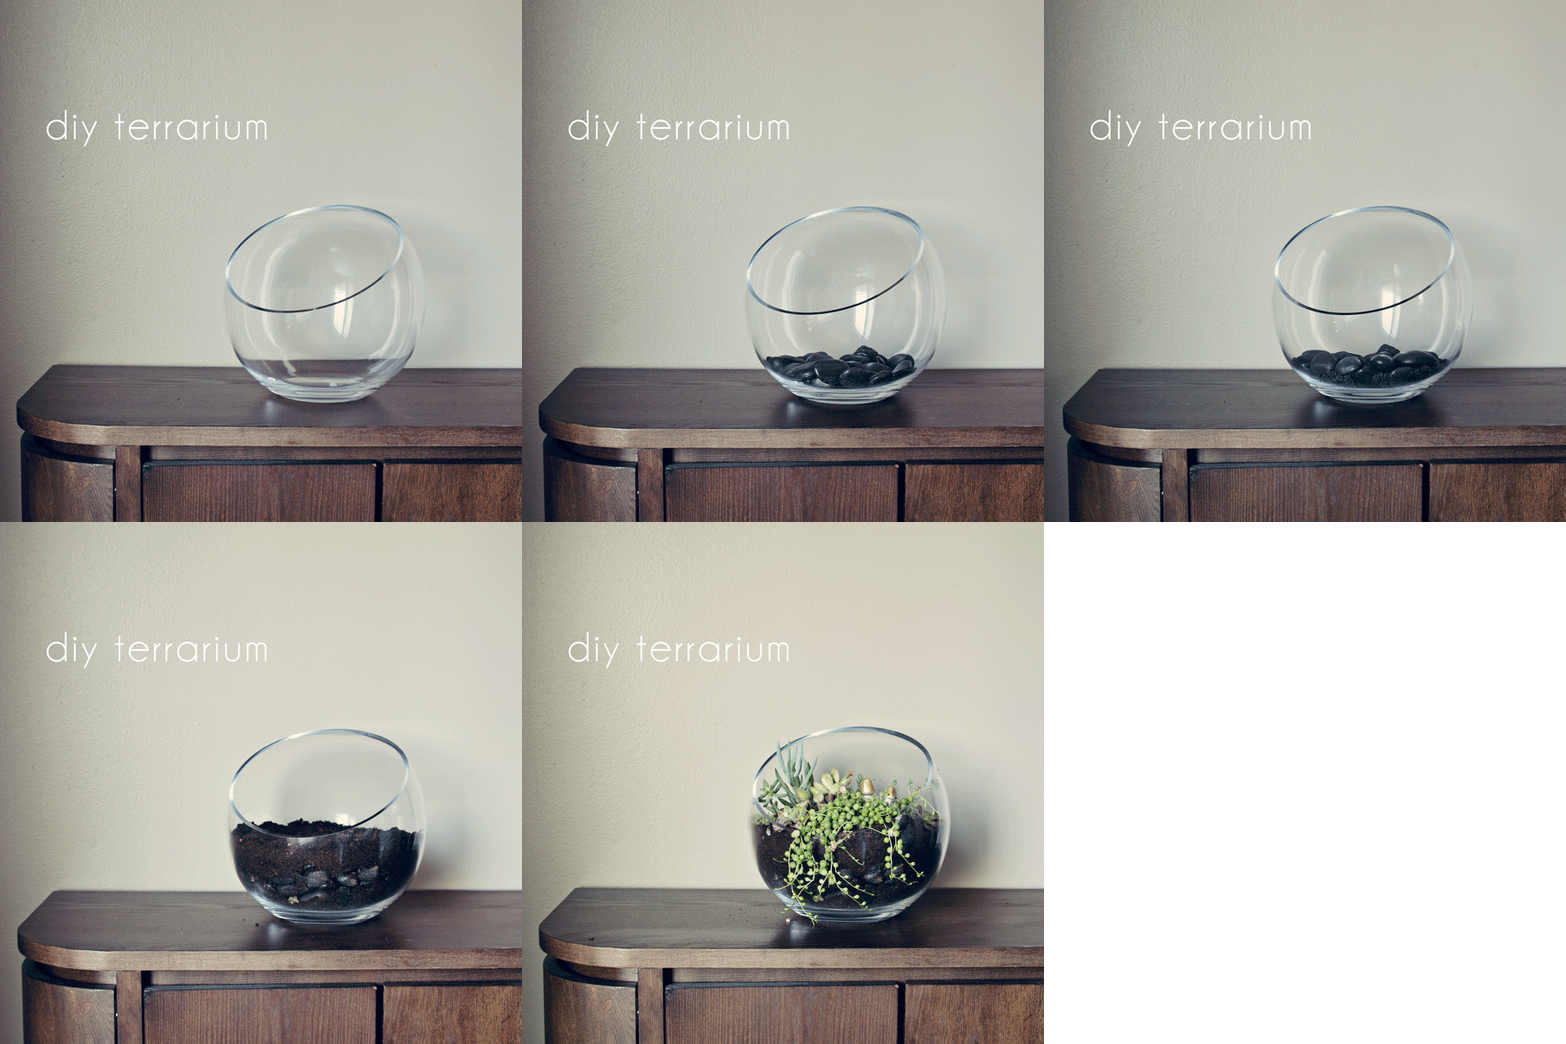 Ever since this party, I have been pretty in love with terrariums. So when I stumbled across a Crate & Barrel gift certificate I decided to run out and buy this bowl to create a Coffee Table Terrarium. You can find an illustrated how-to guide here or follow the directions below to create your very own. I think they are great as a focal point in a room or you can make multiple small terrariums to run down the center of your dining table to create a eye-catching centerpiece. Regardless, it is always fun to get your hands in some dirt.
MATERIALS:
- Vessel (You can use a mason jar, bowl, old tea cup, don’t be afraid to get creative!)
- Rocks or gravel
- Activated charcoal
- Soil
- Chopstick or other planting implement
- Plants
- Fun stuff – gold dinosaurs, clay mushrooms, plastic army men
SIMPLE STEPS:
- Put a layer of stones or gravel in the bottom of your container to provide drainage.
-
Sprinkle in some activated charcoal. This will keep your soil nice and fresh.
-
Place potting soil above the charcoal. Be sure that there is enough soil to house the roots of your plants. Once this layer is in, your layers should fill about a third of your jar.
-
Arrange all the pretty things. Use a chopstick to dig a hole and guide your succulents into place. The wide end of the chop stick can be used to pat down the soil. Get creative with polymer mushrooms, dinosaurs, or neon sheep.
Nothing like a little green to bring a room to life!
by Lila on August 3, 2014
 “A portrait of my baby boy, once a week, every week, in 2014.”
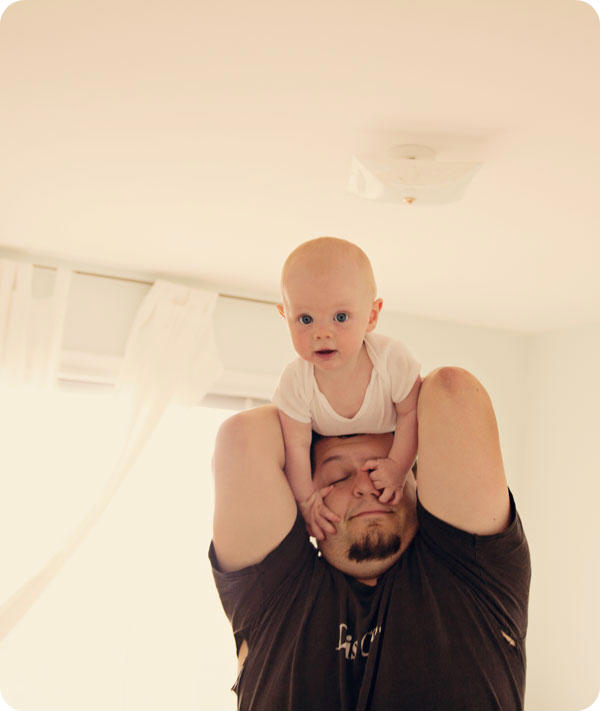
August 3, 2014: Watching these two together lights up my life. Sometimes I have to look away as Jeff throws our little one in the air or has him balance while he holds Grayson by his legs. Ultimately though, I love it, even if it scares me a little. That is the way of parenting, right? One parent protects and the other pushes limits to simulate growth. Yin and yang.
Linking up with Jodi’s 52 Project
by Lila on August 1, 2014
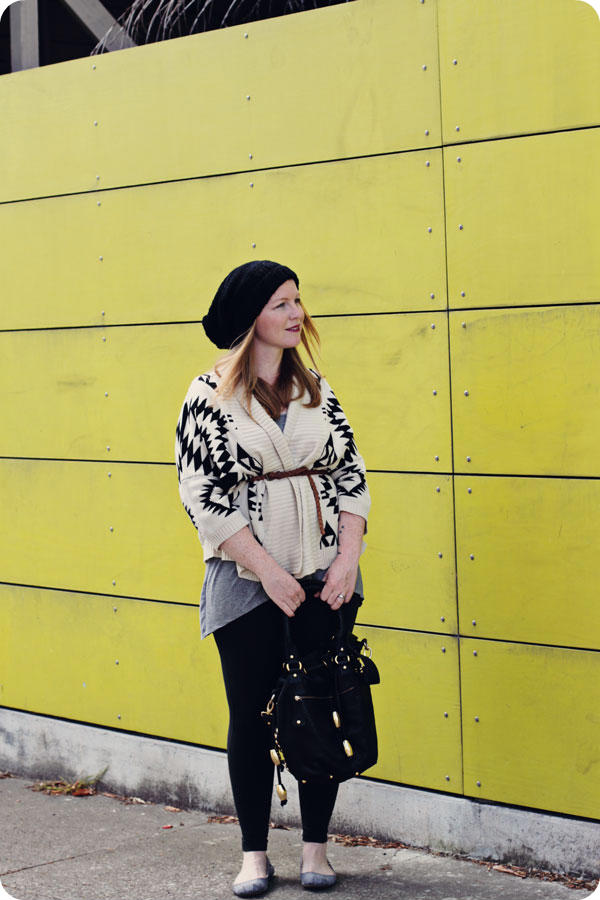 Figuring out what to wear in San Francisco in July can be a challenge. “Coldest winter ever was a summer in San Francisco,” or something like that. Kate of Undeniable Style, is no stranger to this challenge given that she has called this place “home” for a long while now. I couldn’t be happier with how she styled this outfit. There is no denying I have been itching to get my hands on a floppy hat and an aztec sweater. Now that I have them, they are going to be in the regular rotation for sure.
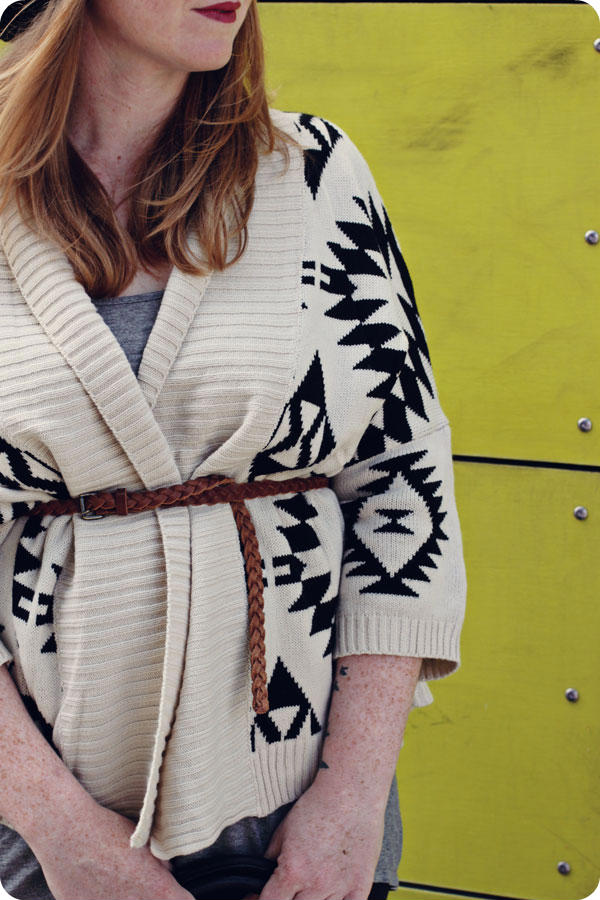
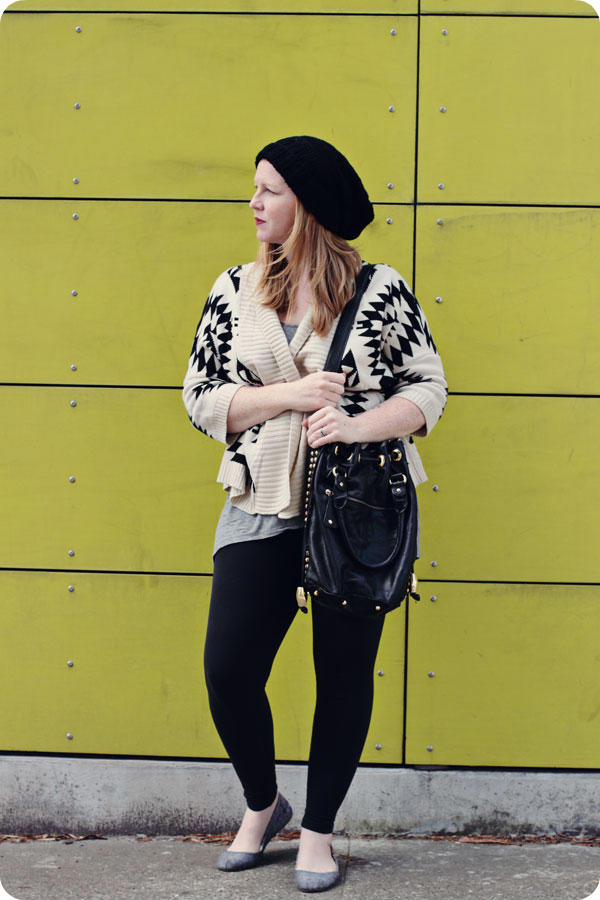
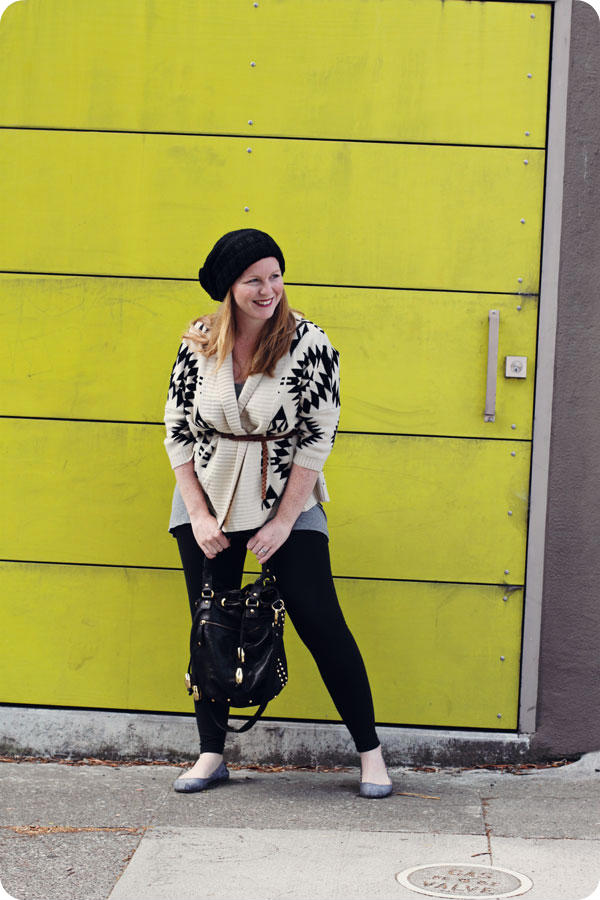
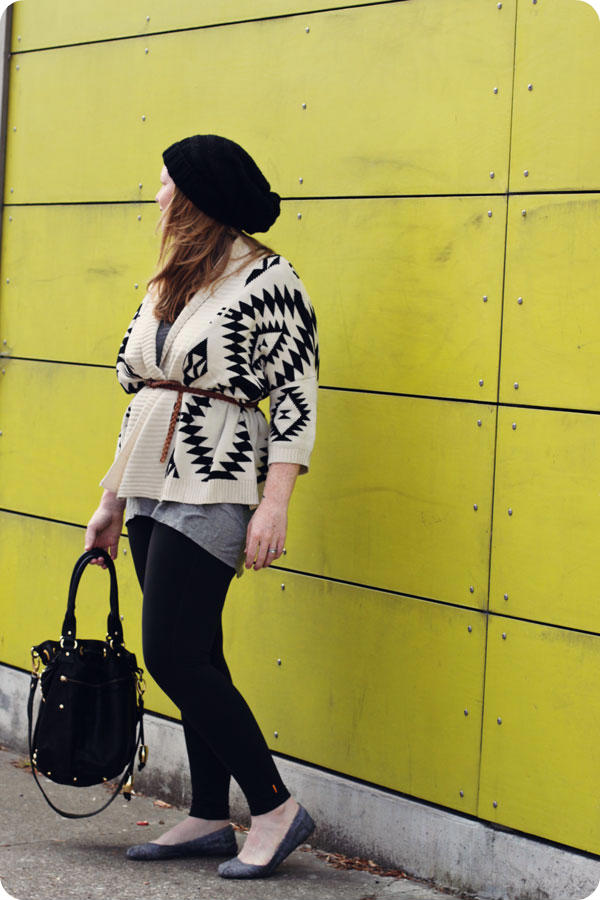
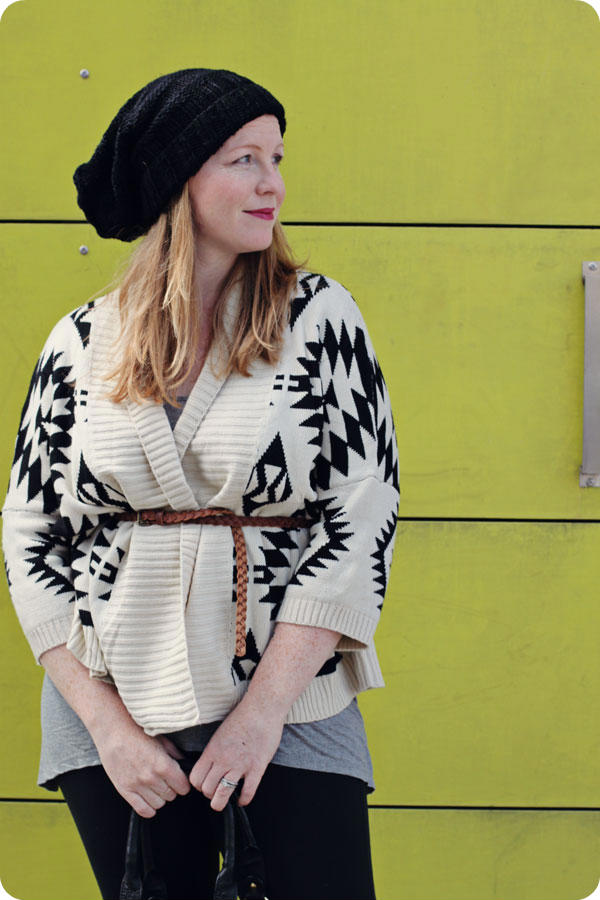
Kate hit this one out of the park. I adore wearing leggings, so comfy on this new-mom-body. Kate gave me back my waist by belting the sweater at my narrowest spot. The flats are perfect for running to the kitchen and back out to my guests. The layers keep my curves in check. In this outfit I feel like myself, the cozy-warm-welcoming hostess. It is perfect for a little oyster shindig held in backyard with good food and great friends.
Don’t miss the rest of the Oyster Party series. You can find the inspiration here, the printable invite here, the diy napkins here, and the delicious menu here!
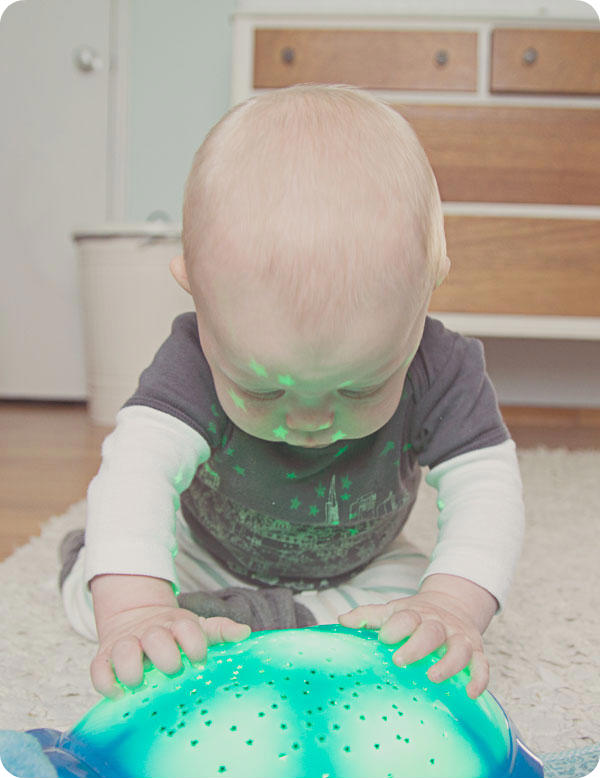 “A portrait of my baby boy, once a week, every week, in 2014.”
July 25, 2014: He found a new fascination.
Linking up with Jodi’s 52 Project
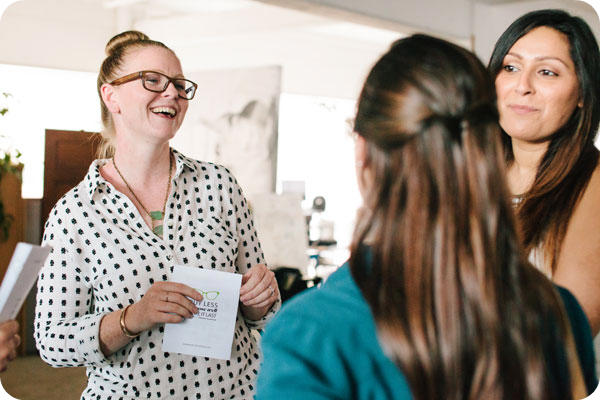
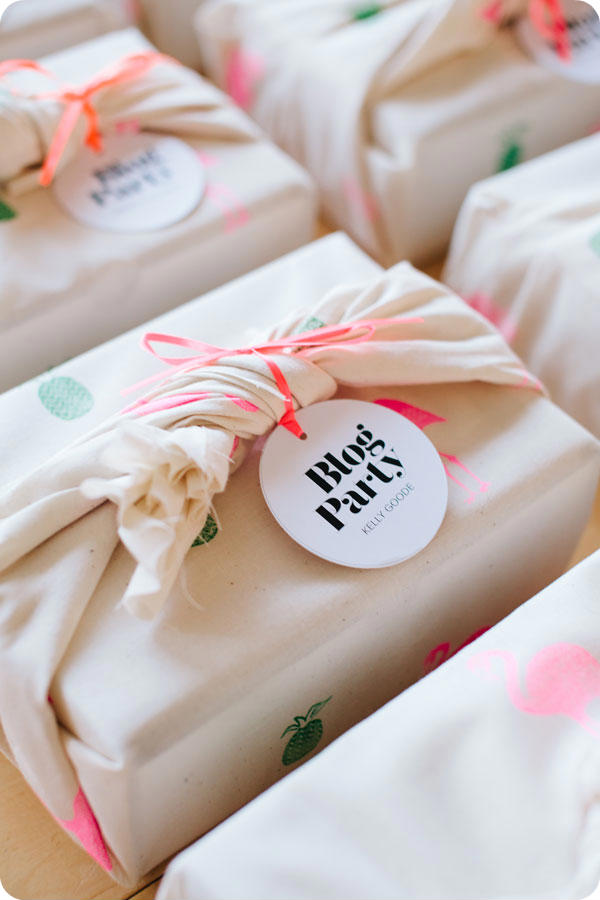 There is something to be said for gathering with creatives and talking. That alone led to much inspiration for me at the Blog Party I attended held in the beautiful offices of Social Print Studio. Ideas for endless collaborations were born and I can’t wait to see where they take me.
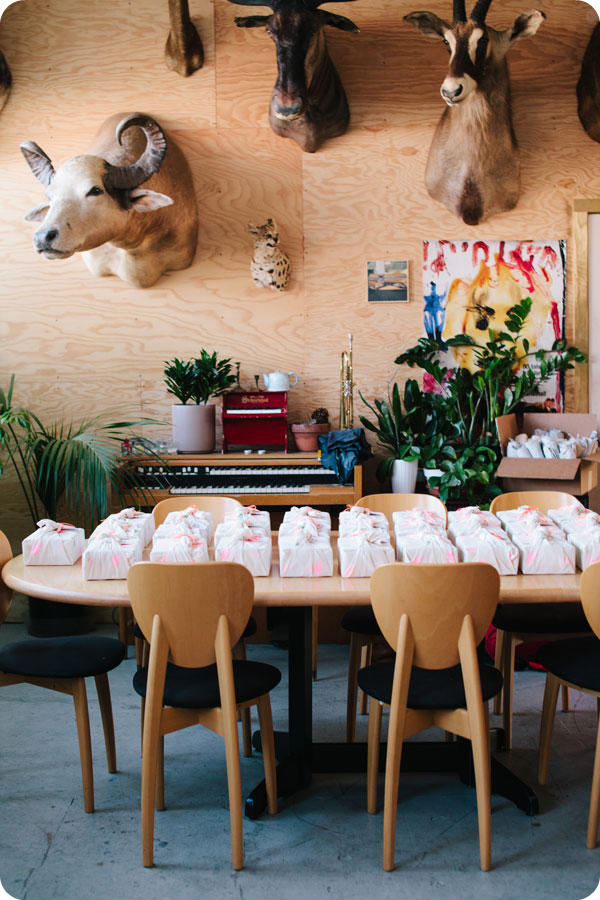 I was excited to be in the offices of Social Print Studio. They enable instagram users to print their images in a myriad of creative ways. I used their services when Grayson was just born to create prints for our family of our new bundle. When I first walked into their work space I immediately starting looking for a job application. The giant room is filled with natural light and hammock chairs, a space I would love to create in on a daily basis.
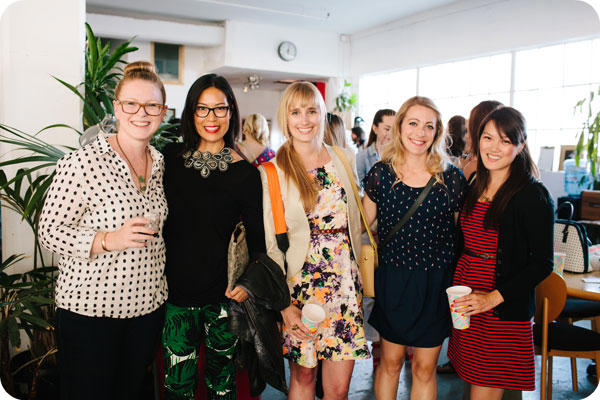 What I loved about this Blog Party event was that it brought together local bloggers. With so many fabulous blogs out there it is challenging to find out who is in your area and to create a collaborative community. I was so excited to meet several inspiring women whose blogs I am now a little bit in love with. Above, from left to right, are: little ol’ me, Bobbie of Even If Nobody Reads This, Sarah of Snixy Kitchen, Kelly from A Side of Sweet, and Elsie from Pennie Post.
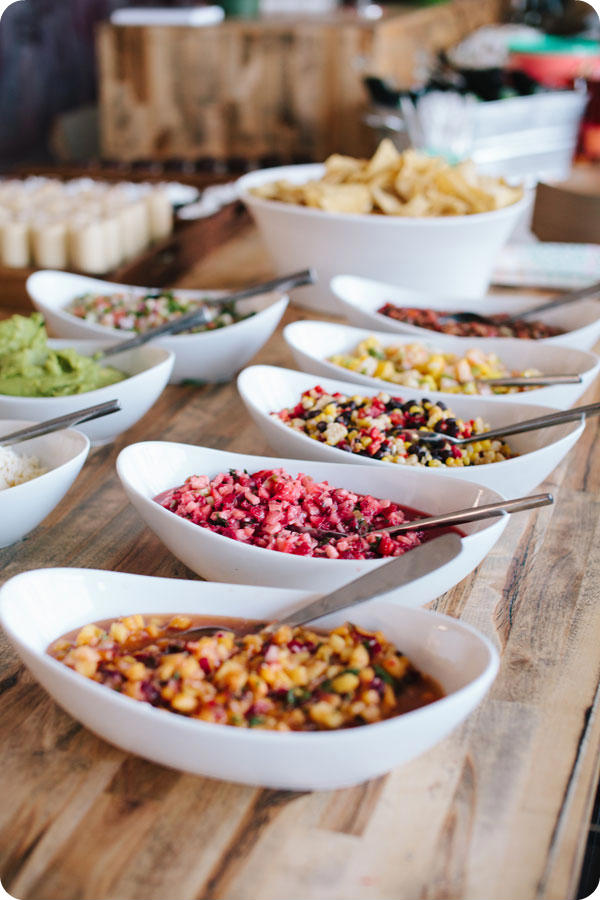 I would be remise if I didn’t mention the food. So delicious. The event was catered by Andie of Bakin’ Bit, such a talented and engaging lady. The main event was a salsa bar of epic proportions, an idea I would like to recreate for a future gathering.
 The incredible photographs above were all taken by the talented Simone Anne of We Are Adventure.us. She also has an incredible instagram feed you can find at @simone_anne.
It was so much fun to take a night and connect with creative people from all over the Bay Area. In addition to great conversation and delicious food, we also got to take home a beautiful party box filled with goodies. It doesn’t get much better than that. I’m looking forward to the collaborations and friendships to come.
 “A portrait of my baby boy, once a week, every week, in 2014.”
July 15, 2014: My boy is an adventurer. Too much time in the house makes him a little stir crazy, he wants to be out in the world. This week marked his first time in a swing. He lit up as he moved back and forth, his little feet dangling below.
Linking up with Jodi’s 52 Project
 Nothing like a beautiful napkin to set the tone for a dinner party. These diy napkins are simple, quick, and elegant. All you need are a stack of solid color napkins and a bleach pen. I went with blue as a nod to the ocean home of the oysters we will be enjoying during our backyard oyster party.
You can easily use the below technique to make any pattern you like. If you’re really ready to invest some time you can even sew your own napkins!
 MATERIALS:
- Napkins (great deals can be found at Ross/TJ Max, you might even have some in your linen closet)
- Bleach pen (you can use straight bleach as well, but the gel in the pen makes it easier to control your pattern)
- Cardboard to protect your work area
SIMPLE STEPS:
[1] Gather your materials. When selecting your napkin be aware that different dyes will result in different colors around the edge of your pattern. I was surprised to find that the blue bleached to a coral red around the edge of my dots.
[2] Create patterns on the napkin using your bleach pen. Be sure that your work surface is covered. The bleach seeps through the fabric and will bleach anything below the napkin. Keep in mind that the bleach will spread when designing your pattern.
[3] Allow bleach to dry completely. As the bleach dries you will see the fabric change color and the your pattern soften around the edges. I let mine sit overnight before washing them.
[4] Wash and dry. I washed mine with a set of white shirts just in case the bleach decided to reactivate. Drying the napkins will set the bleach so it won’t continue to spread.
Be sure to check out my pinterest board for other great DIY projects!