Nothing like a little DIY in your life when it comes to party decor. When deciding on the centerpieces for the lovely baby sprinkle I was hosting, I envisioned clusters of gold, dip-dyed jars. I am really into the whole metallic thing right now. Picture me in my kitchen, fishing through cabinets, deciding what prettily-packaged foods I could finish off quickly and steal the jar.
To make your own, follow the steps below.
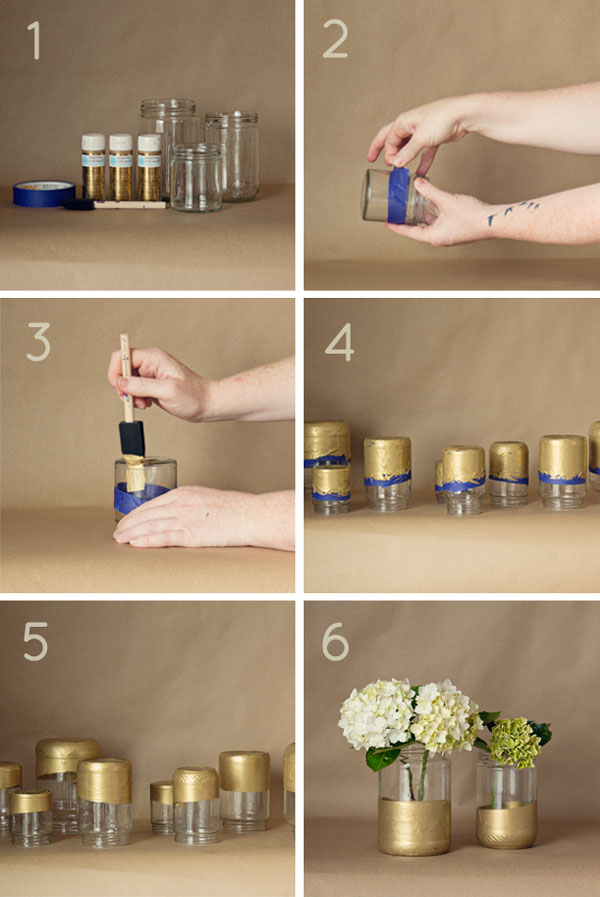 STEP 1: Collect materials
In this case: jars, gold paint that can be used on glass, tape, and sponge brushes.
STEP 2: Tape jars
Tape the jars where you want your line to be. I wanted them to be asymmetrical, so I forced my tape into a curve. Be sure you have a smooth continuous line when finished.
STEP 3: Paint jars
What I found worked best was to apply a heavy layer of paint. After a moment the paint settles and the brush marks disappear.
STEP 4: Let the paint settle
Allow the heavy coat of paint to drip down over the tape, leaving a nice even finish on the jar. The trick is to not put so much paint that it keeps dripping past the tape. If you do apply too much, don’t worry, you can simply wipe it off with a paper towel before it dries.
STEP 5: Remove the tape
Pull off the tape carefully while the paint is still a little wet and set the jar back down to fully dry. This allows for a nice clean edge, that almost looks like you might have actually dip dyed these jars.
STEP 6: Fill with flowers
Once the jars are dry they are ready to be filled with water and flowers. Clustered together they make for a beautiful centerpiece. For the baby shower I plan to use them with all white flowers. Can’t wait to share!
Don’t miss the rest of the “Baby Sprinkle Series!” You can find the party’s inspiration here and the perfect printable invitation here.
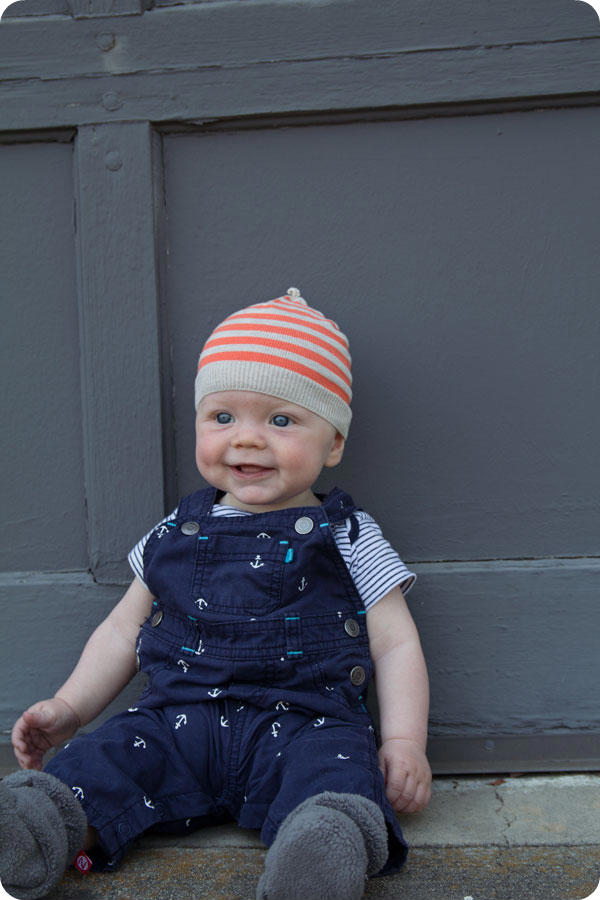
 “A portrait of my baby boy, once a week, every week, in 2014.”


 This breakfast sandwich is a show stopper and the main course for the Baby Sprinkle. It is delicious. Combining savory and sweet, it gets a party started off right.vJoining this sandwich will be bagels, with sprinkles of course, a parfait bar, coffee bar, doughnut holes, and incredible cookies from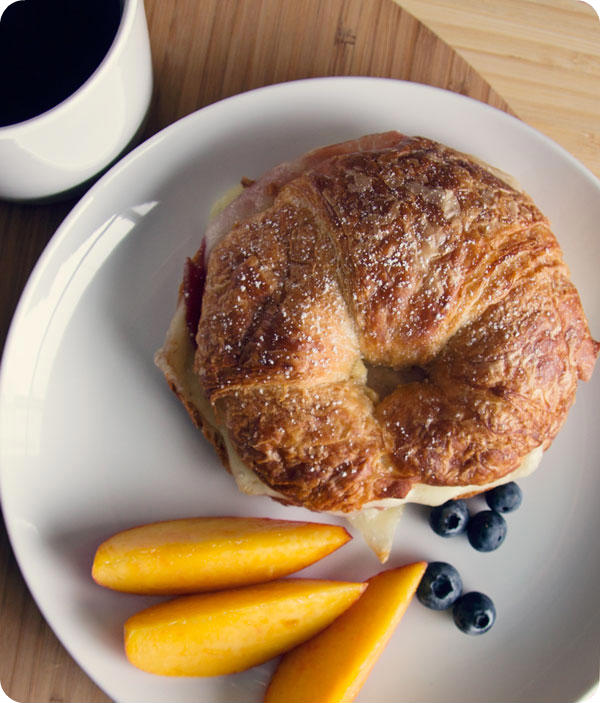


 “A portrait of my baby boy, once a week, every week, in 2014.”
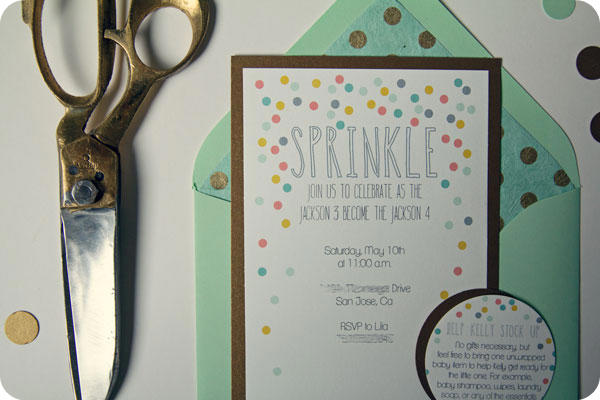 When someone has their first baby there is a shower. When someone has their second baby it is fun to have a sprinkle. My invite design was inspired by the dual meaning of sprinkle, dots imitating colorful specks of sugar. At the bottom of this post you will find a printable version where you can fill in your own information for your own dear one having their second bambino.
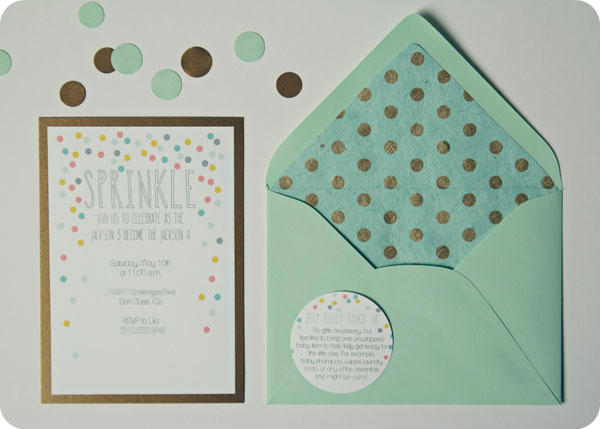 Paper Source is my guilty pleasure. I love everything there and have become addicted to their paper. They have a couple new colors, one of which is mint. I feel like they know me so well.
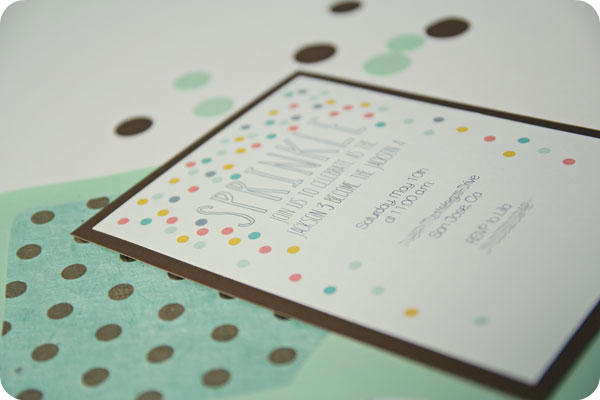 I used multiple circle punches to create gold and mint confetti that I stuffed into the envelope with the invite, following in the sprinkle theme. My plan is to have this confetti featured as part of the table settings as well. Just wait, it’s gonna be cute!
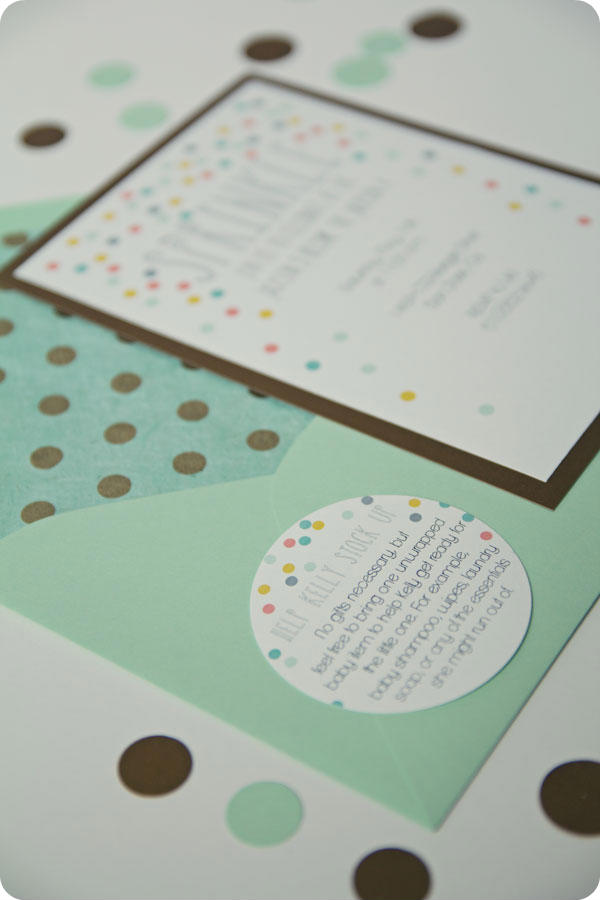 We included an insert to let guests know that gifts were not necessary. However we did ask that they help her stock up on all the things she may have run out of; diapers, laundry detergent, etc. We had a really cute display prepared where guests could drop off their gifts as they arrived.
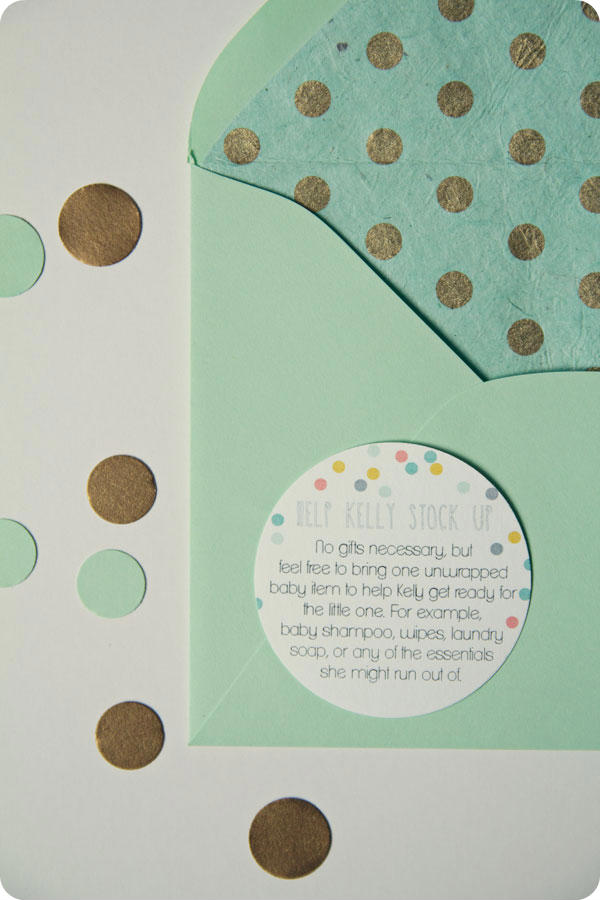 In case you are throwing a Baby Sprinkle yourself, here is a fill-in-the-blank version of my invite design: